
Introduction
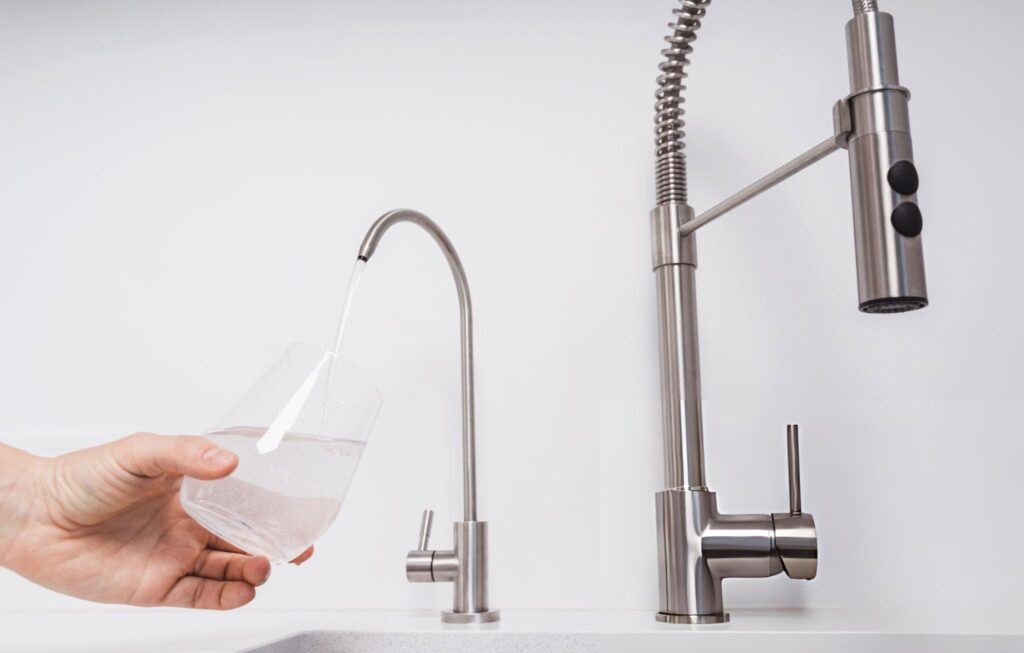
If you’re growing hydroponically, you already know that water quality is one of the most important factors for plant health. Poor water can mess with nutrient absorption, introduce contaminants, and slow down growth. That’s where a reverse osmosis (RO) system comes in – it removes unwanted chemicals, heavy metals, and other impurities, giving your plants the clean water they need to thrive.
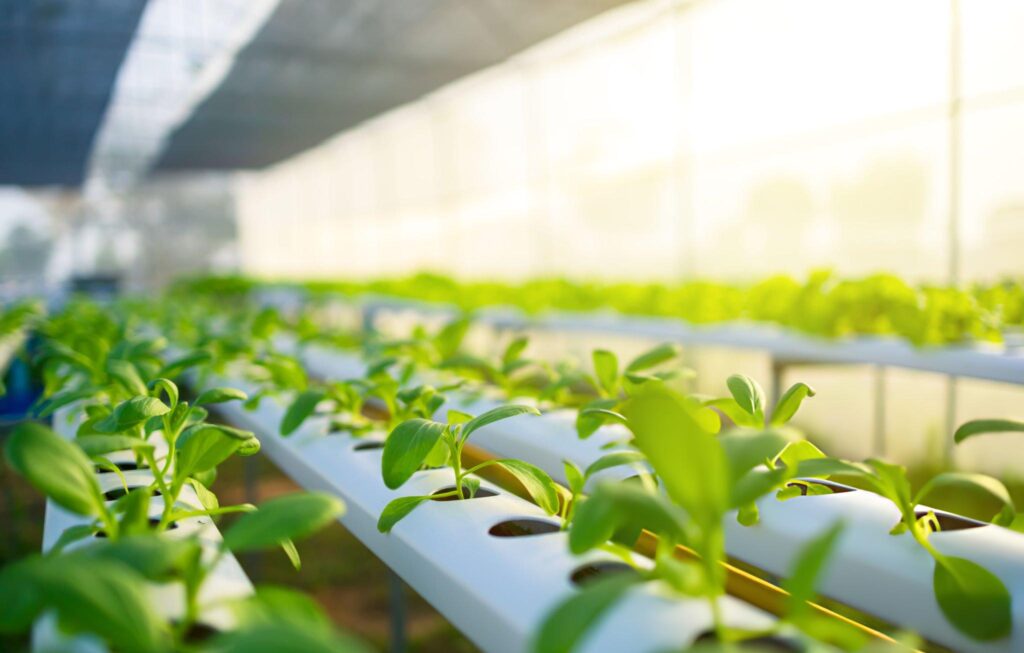
Many hydroponic growers use under-sink or standalone RO systems with hose connections. Whole-house RO systems exist, but they’re usually overkill unless you’re running a massive operation. In this guide, I’ll walk you through installing an RO system step by step so you can start using purified water in your hydroponic setup.
Tools and Materials Needed
Tools:
- Drill or Screwdriver (to mount RO system)
- Teflon tape (if you’re using the threaded shutoff valve)
- Scissors or tubing cutter
- Little pail and towel (to catch water spills)
Materials:
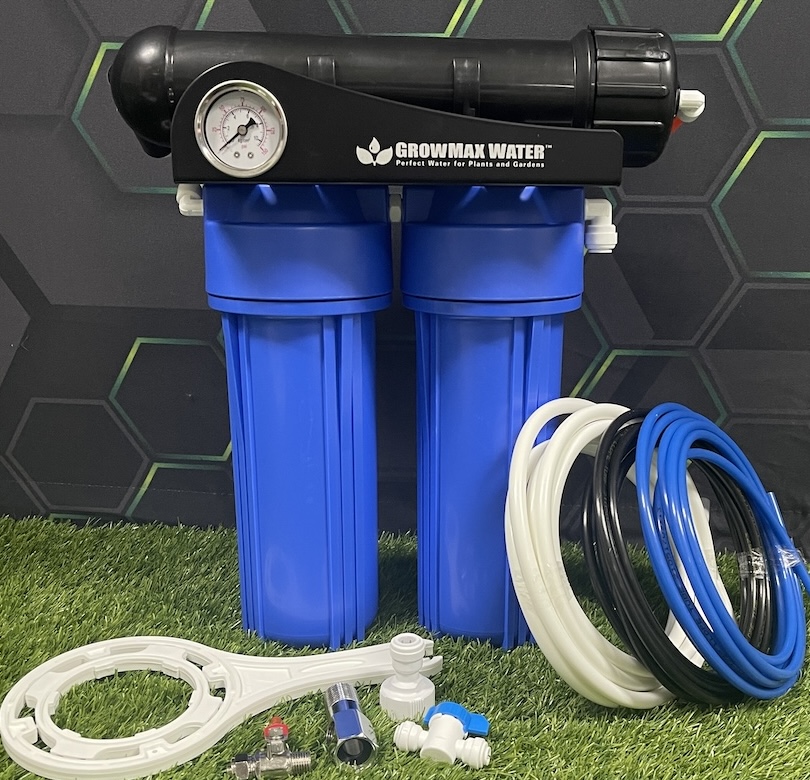
- GrowMax RO system kit (includes filters, membrane, tubing, garden hose adapter, shutoff valves, and filter housing wrench)
Preparing for Installation
Choosing the Right Location
RO systems filter water slowly, so sloooww — seriously, they take their time! Because of this, you’ll want to set up the system near your holding tank or mixing station.
You’ll probably need to invest in an automatic shutoff valve kit too. This will stop the filter when the tank is full so you don’t get spills or floods. There are also flood sensors that will shutoff the system if they get wet… but they aren’t really practical for a hydroponic grow.
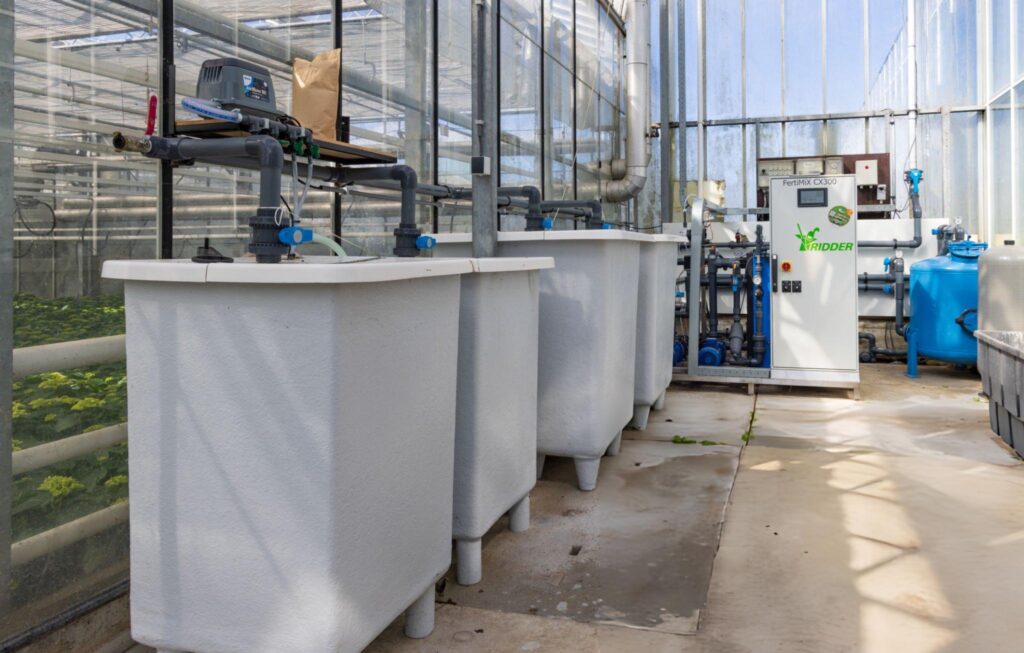
Keep the purified water is always close to where you need it, or you’ll need to pump it, which is common in bigger grows. If you’re installing it under a sink, make sure there’s enough room to change the filters easily, or that you can pull out the filter system easily to maintain it.
Checking Water Pressure and Quality
RO membranes purify water much faster with warmer water. Cold water filters slowly. If you can hook up your system to a water heater, you’re going to increase the amount of purified water produced per day. Keep in mind that most filters have a max temperature of 100°F. Check the performance boost you’ll get at the RO Flow Rate Calculator. You can get over a 40% increase in production from your RO filter by using 100°F water.
Also, RO systems work best when water pressure is between 40 to 80 psi. If your water pressure is too low, you’ll probably need a booster pump to help the system work right.
It’s also not a bad idea to test your water first so you know exactly what impurities you’re dealing with. There are tons of labs out there that will test your water for an affordable price.
Installation Process
Step 1: Mount your RO System
Using a couple of screws with large enough heads, secure the main RO unit inside a cabinet, on a wall, or near your holding tank or reservoir. Make sure there’s enough space for tubing connections and any future maintenance.
You’re going to need to access the system again to change filters and the membrane, so make sure you can leave enough slack in the hoses so you can pull it in and out.
Step 2: Attach the filter to the Water Supply Valve
The GrowMax comes with indoor and outdoor connections. That is a garden hose adapter for outside use, and a under sink valve adapter that will give you a feed line for the filter if you need to use it indoors.
If you’re mounting it under the sink you’ll might need channel lock pliers to loosen the hose that goes to the faucet, so you can attach the filter’s adapter.
If you’re installing a larger system, you’ll likely want to shut off your main water supply to install its own valve.
I don’t like using the saddle valve connector . They often leak. Saddle connectors clamp onto a copper pipe. You then tighten down the valve, and it punctures the copper pipe and to allow water to flow into the valve and out to a poly tube. The main issue is this connection is weak, very weak. And it’s prone to leaking. Use saddle connectors at your own risk.
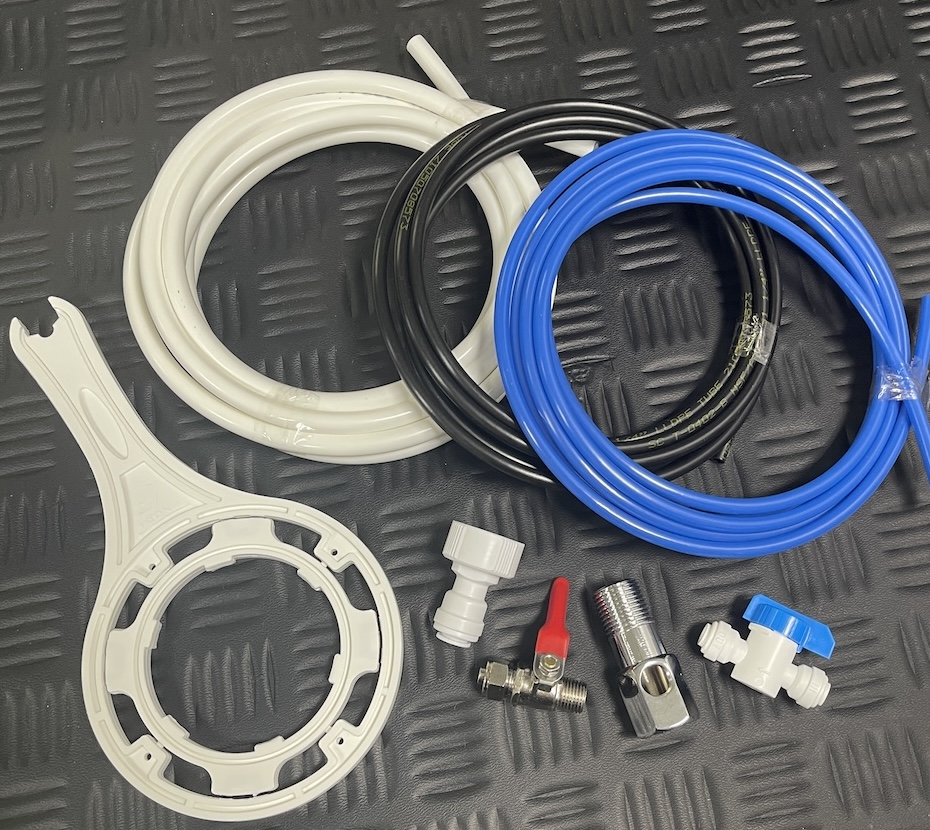
Step 3: Connecting the Tubing
- Feed Water Line: Connect the tubing from the water supply valve to the RO inlet.
- Drain Line: Attach the drain tubing to the drain saddle clamp (not to be confused with the saddle valve connector) and secure it to your sink’s drainpipe or a separate waste line. There are also adapters for garbage disposals available.
- Storage Tank Connection: If using a storage tank, connect it to the RO unit using the included tubing.
- Direct-to-Reservoir Connection: If you’re skipping the tank and sending water straight to your hydroponic system, connect the tubing to your holding tank or mixing station.
- Shutoff Valve: Remember you’ll need an float valve and automatic shutoff valve, often sold in a kit, to prevent overflowing your tanks.
Step 4: Installing the RO Faucet (Optional for Drinking Water)
If you want to use the RO water for drinking, install the dedicated faucet by drilling a hole in the sink or countertop. Also, add a pressurized tank so the faucet flows at a decent rate. If this is just for the plants, you can skip this step.
Step 5: Connecting the Drain Saddle
Attach the drain saddle to your drainpipe or another waste line. If you’re using a hydroponic drain-to-waste system, make sure the reject water flows to the right disposal area. You can also send the waste water out to the garden, but beware this water will contain concentrated of the minerals from your tap water.
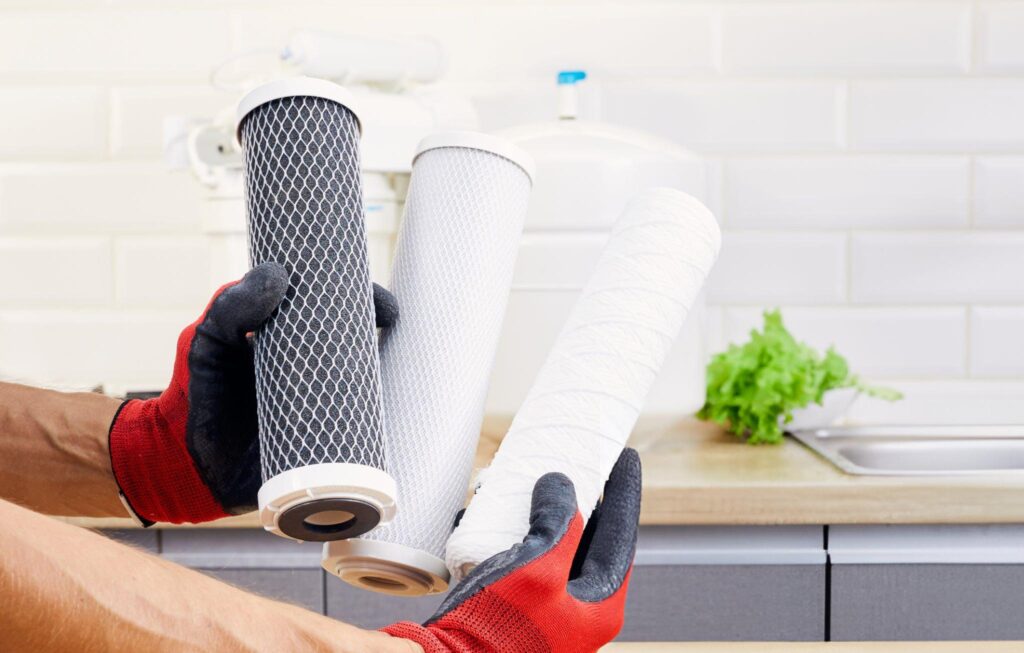
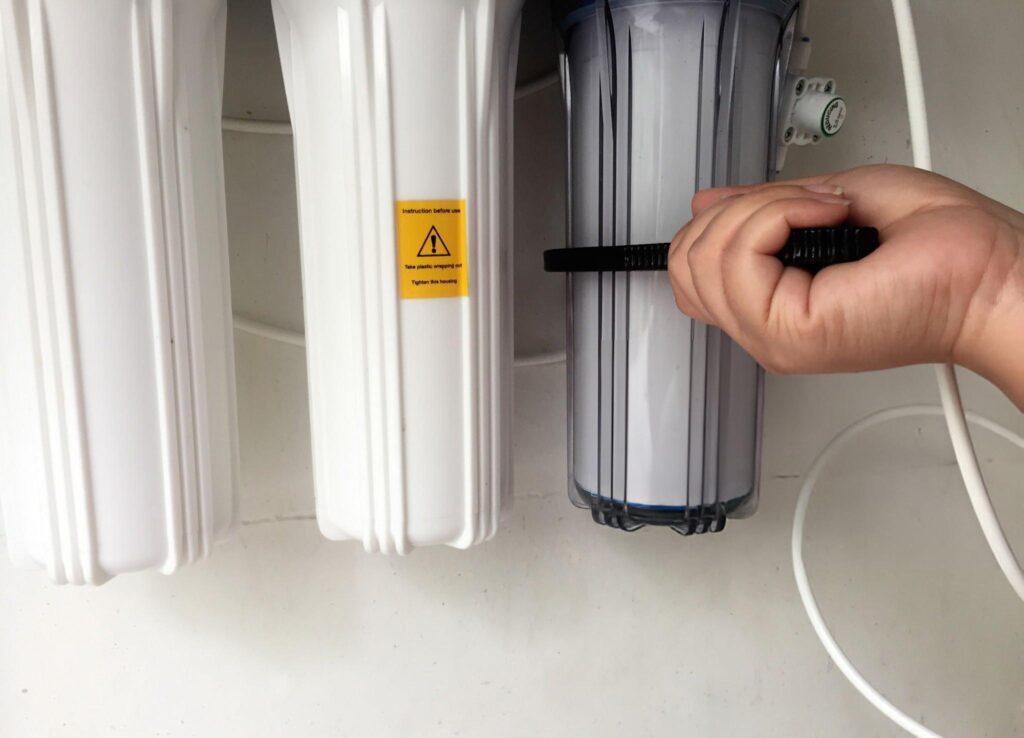
Step 6: Installing and Flushing the Filters and Membrane
Insert the pre-filters, RO membrane, and post-filters according to the manufacturer’s instructions.
This part is pretty straight forward, but make sure you put the sedement filter before the carbon filters. You can follow the flow of the water into the filter to see which one is the first cannister.
The RO system will probably come with a strane looking plastic tool with a circle on one or both ends. It will have teeth on the inside of the circle. This is the cannister wrench! You’ll use it to tighten down the cannister chambers. Make sure they are tight enough that you don’t get any leaks!
Then, flush the filters by running the system long enough to produce 10 gallons before using it. Throw that water away because it will contain impurities from the filter’s manufacturing process.
Step 7: Testing the System for Leaks and Performance
Turn on the water supply and check for leaks. If everything looks good, let the system run until the tank (or reservoir) is full. Then drain it completely to flush out any leftover impurities.
Maintenance
Filter replacement largely depends on the amount of water filtered by the system. See tha manufacturer instructions for an exact lifespan of each filter.
You can put a little flow meter on the filter to keep track of how much your new RO filter has processed. This is very helpful for replacing the fitlers at the right time.
Conclusion
Installing an RO system for hydroponics is one of the best ways to ensure your plants get pure, high-quality water. Whether you have a small home setup or a larger farm, better water means better growth and higher yields.
Keep up with regular maintenance – change filters, clean the system, and monitor water pressure. Once everything is up and running, you’ll have peace of mind knowing your hydroponic plants are getting the cleanest water possible. Happy growing!